The starter combines the collected local soil biology with some nutrients in a growing medium to multiply the biology. This results in a high-fungal starter, which is then used as inoculum to grow the biology in water with selected nutrition into the BioBooster. The guide below produces enough starter for 100 litres of BioBooster, enough to treat up to 4,000 square metres – about an acre.
For gardens, the amounts below can be halved, and the starter can be applied directly with a watering can, see “Applying Directly to Your Garden” below.
For larger areas such as in farming, grazing, orchards and revegetation, see our guide on making starter for large areas.
Materials
For a 4L starter, you require the following.
Ingredients
| Ingredient | Notes |
|---|---|
| 3L dry worm cast | It can be purchased from a local worm farm or garden supply shop. |
| 200 grams of Mill Run | It can be purchased from a garden or livestock shop – or you can use bran and pollard from a grocery store. |
| 300 ml of sifted local soil | This should be from an uncontaminated area with a diverse vegetation – we collect ours from a turkey nest in an area with very diverse vegetation that has not been subjected to industrial chemicals for at least 30+ years, if ever. You can learn more in our guide on collecting local soil biology. |
| 100ml molasses syrup | Dilute with 400ml of water. Can be purchased from most grocery stores. |
| 4ml Sea minerals | If available, add to the diluted molasses mixture. |
Cardboard Box and Wrapping
The correct box is an essential part of the process. We use Australia Post box BXP2 (310 x 225 x102). It is A-4 paper sized, 102 mm high and made of unpainted cardboard. Duct tape is used to strengthen the corners. When filled, the mixture in it is about 85 mm thick, with space for a tea towel and air above it.
A tea towel or similar about 500mm x 320mm folded double and kept wet once or twice a day will keep the surface moist and is placed inside the box. The box should be wrapped in a large beach towel to help keep the warmth and moisture in, while allowing the starter to breathe.
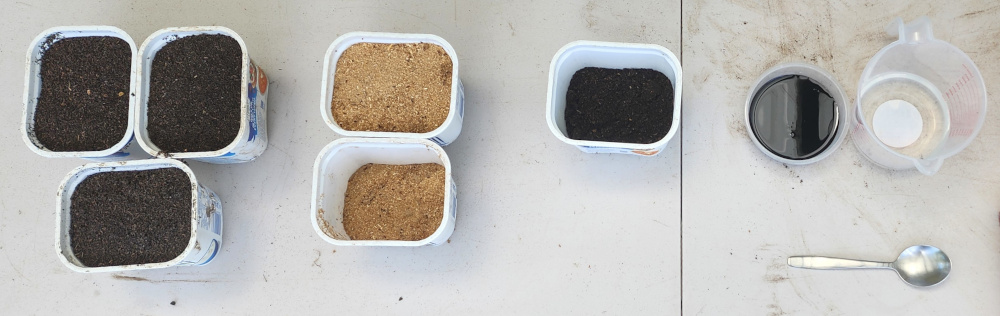
Mixing
The ingredients should be mixed thoroughly. Start with the dry ingredients and slowly add in the diluted molasses mix.
Once mixed, slowly add water until you are just able to squeeze a drop of water. Be careful not to add too much, as excess water will hinder the process significantly.
Filling, Storing and Maintaining
Place the mix 8–10 cm deep in a cardboard box and compress it gently, like compressing soil around seedlings, as excess compaction will exclude air and stop desirable biology growing. Put a wet cloth or towel on top of the mix to maintain humidity and temperature.
Twice a day rewet the cloth in a bucket of water, wring it out and put back over the starter. Wrap the box in towels to keep any warmth in. Keep it in a shed or indoors where the nights stay warmer. Do not expose the box or its contents to direct sunlight.

The Growth Phase (5–7 Days)
Over the course of the next few days, the starter will begin to warm up, reaching a little over 40°C. Remember to keep rewetting the tea towel to keep the moisture levels up.
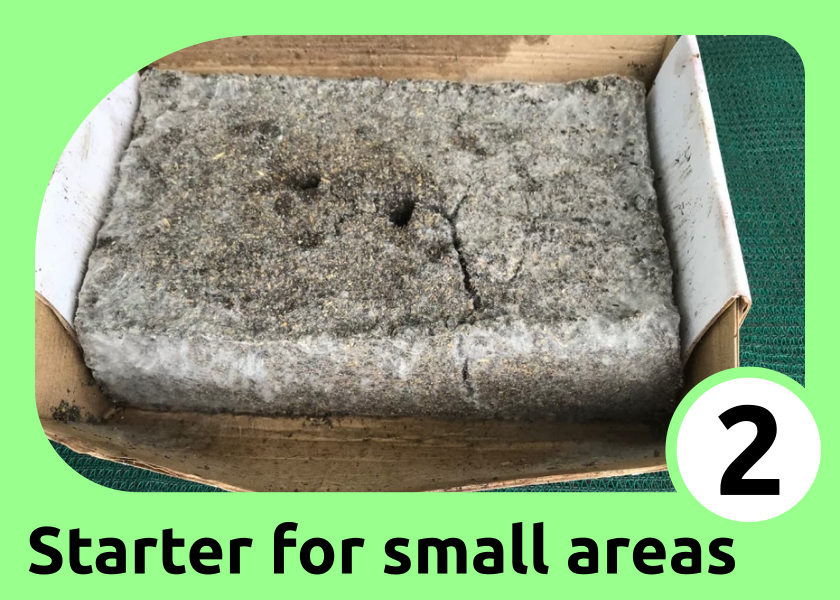
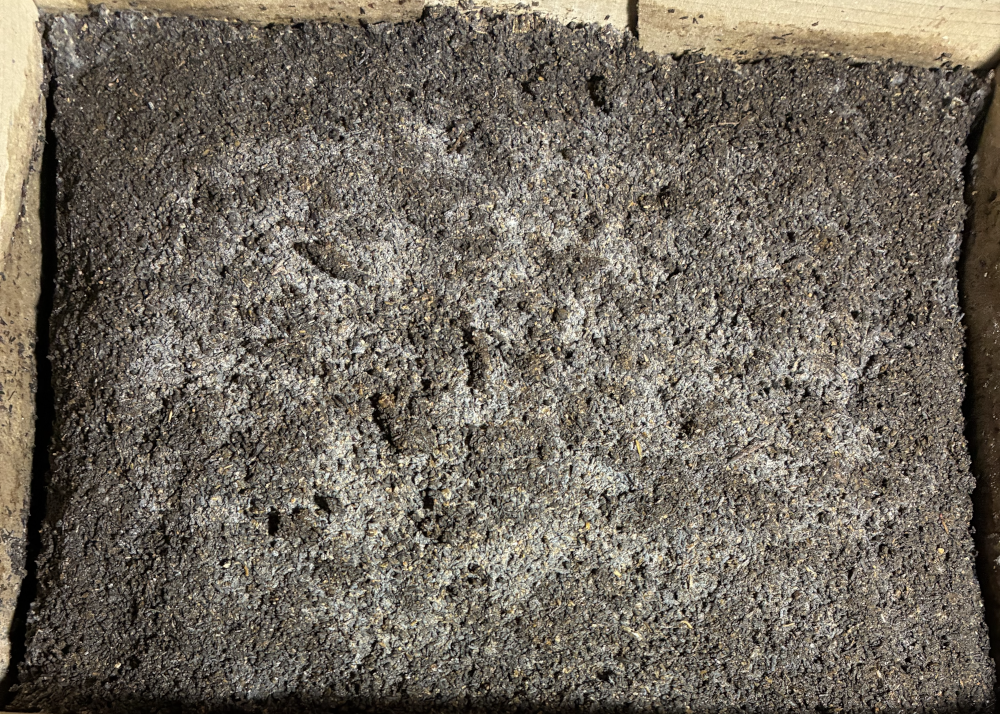
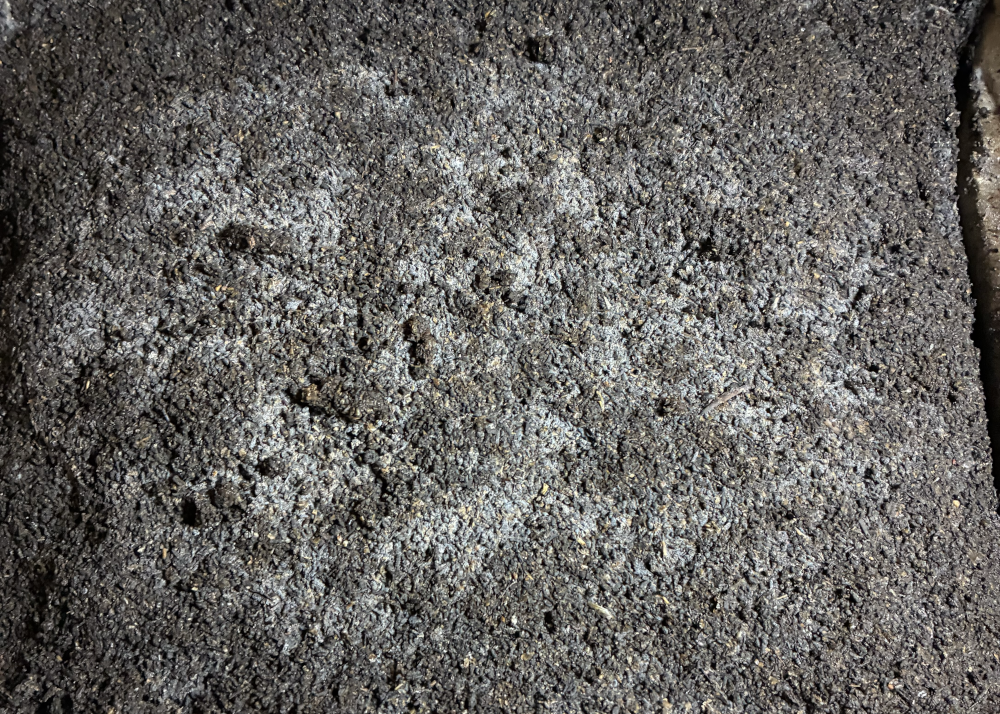
After the third or fourth day, you should expect to see fungal growth forming throughout the mixture and on the surface. These small white or grey threads are the mycelium or fungal growth we are looking for. After a week, this should result in thick fungal growth on the surface and should have spread throughout the entire block.
It may be beneficial to look at the starter through the lens of a camera, as that can often make it easier to see the threads.
| Day | Temperature | Comments |
|---|---|---|
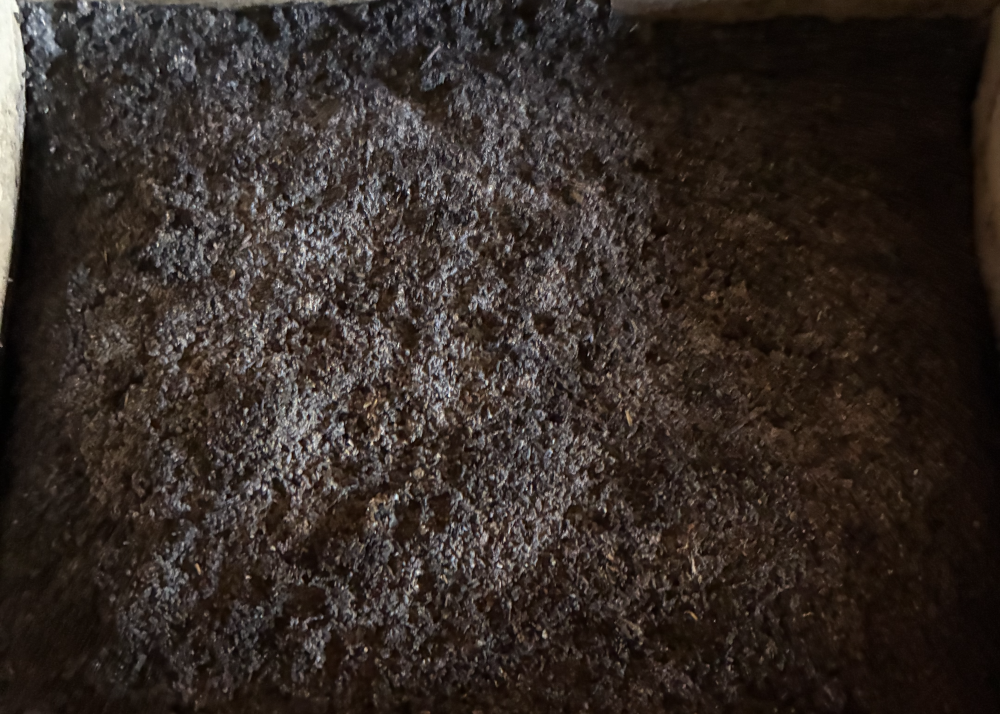
| 0 | Make and set the mix | |
| 1 | Hot to the touch, approximately 40°C | No visible changes. Rewet cloth with warm water |
| 2 | Warm, approximately 35°C | No visible changes. Rewet cloth with warm water |
| 3 | Slightly warm, approximately 30°C | Early signs of growth. Rewet cloth with warm water |
| 4 | Room temperature (27°C) | Growth becomes more prominent. Rewet cloth |
| 5 | Room temperature (27°C) | Fungal growth has good cover over the surface. Rewet cloth |
| 6 | Room temperature (27°C) | Mycelium present throughout the mix. It is ready to be used. Rewet cloth daily and use within 1 or 2 days. |
Checking if it’s Ready
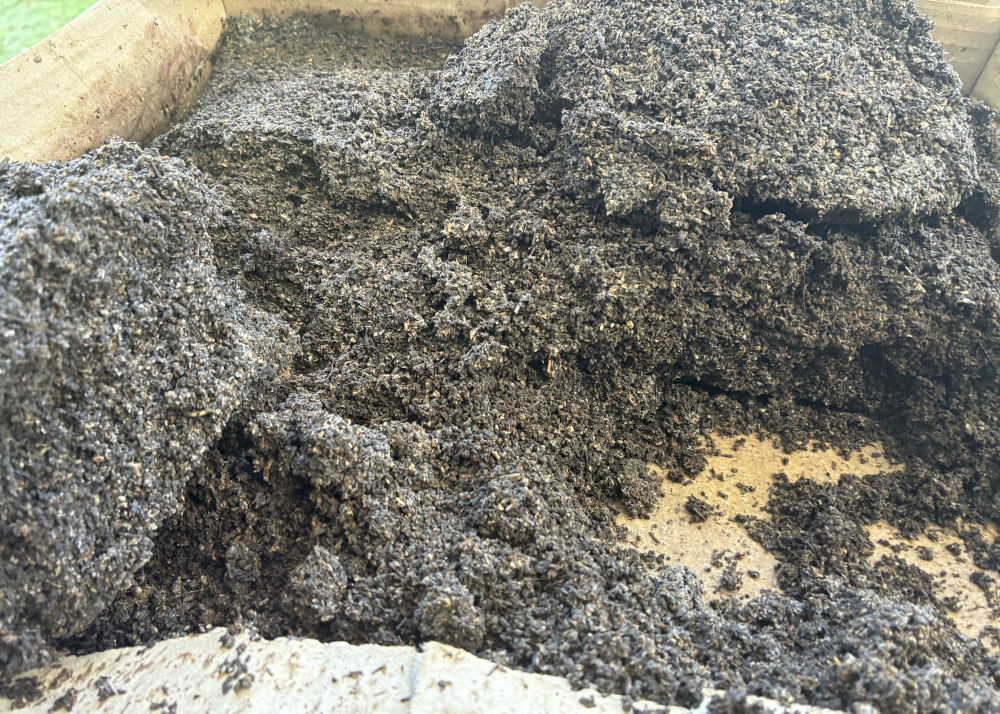
Once there is thick fungal growth on the surface, break open the starter to check the inside. If the fungal growth is present throughout the starter, it is ready for use.
Next Steps
The starter will keep for one or two days if kept moist and cool. For larger areas or for use as foliar spray, the starter is then further enhanced to grow the BioBooster, allowing for an even easier application over larger areas with better effects. On small areas it can be applied immediately using a watering can.
Applying Directly to Your Garden
Soak the completed starter in 10 litres of water for 10 minutes in a 20-litre pail. Break any lumps in the mix with your hands and stir a few times.
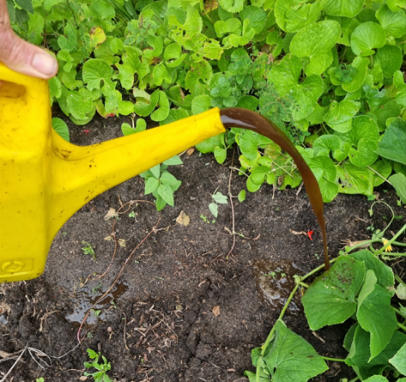
Use as is or further dilute with water and apply to your garden with a watering can without a nozzle (to prevent blockages). You can also add a few spoonfuls of seaweed and fish emulsion, and/or sea minerals can be added as fertiliser and feed for the biology. 4L of starter diluted in this way is easily enough for around 100 square metres.
Uniform coverage is not needed, as the biology can spread metres in 100 days when there is plant cover. Apply in the evening or water it in soon after application, as soil biology is killed by direct sunlight.
Key Points
- Keep the collected soil covered and cool before use.
- Keep the mix covered by a damp cloth twice a day.
- Check by hand that there is warming during the first few days.
- Prevent the mix from getting too wet or too hot; best to keep it inside.
- When the fungi have fully covered the surface, check that it has also spread through the starter. If not, wait another 24 hours but no longer.
- When using the starter directly, soak it in water and stir regularly for no longer than 10 minutes. Then apply it with a watering can and water it in with a hose to wash the soil biology further into the soil.