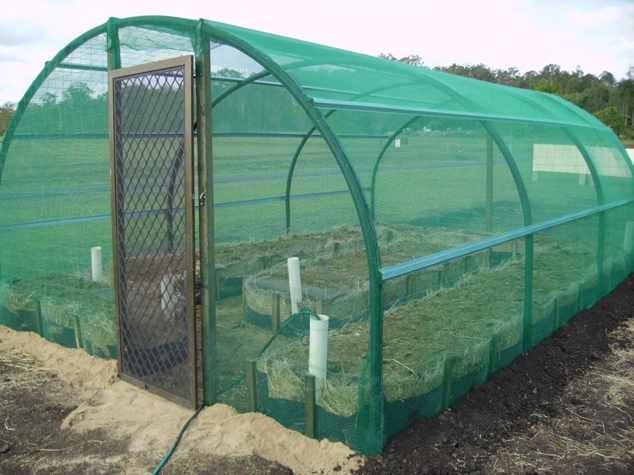
This six metre by four metre shade houses protects against excessive sun, wind, and pests such as insects and possums. A simple structure can be made using materials that can be purchased at any good hardware store. This design minimises waste and time, with an estimated material cost of $500 as of March 2025.
Use 30% shade cloth, as 50% provides too much shade for most plants. Aim for at least 6 but preferably 8 hours of direct sunlight daily. Choose the location carefully, as the shade house will last for decades, and surrounding trees will continue to grow. This recommendation is based on over 20 years of experience.
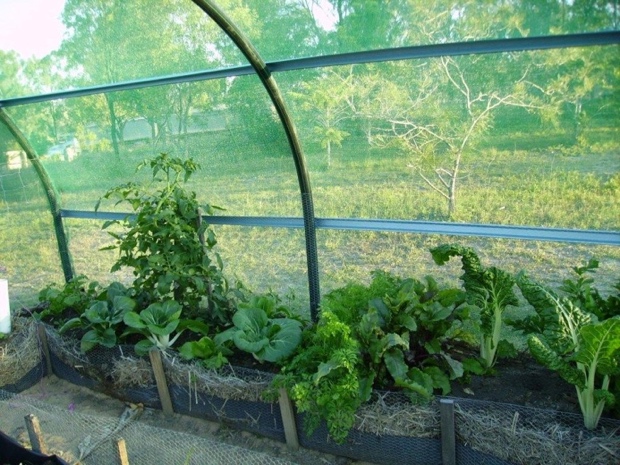
Materials and Equipment
| Material | Quantity | Link |
|---|---|---|
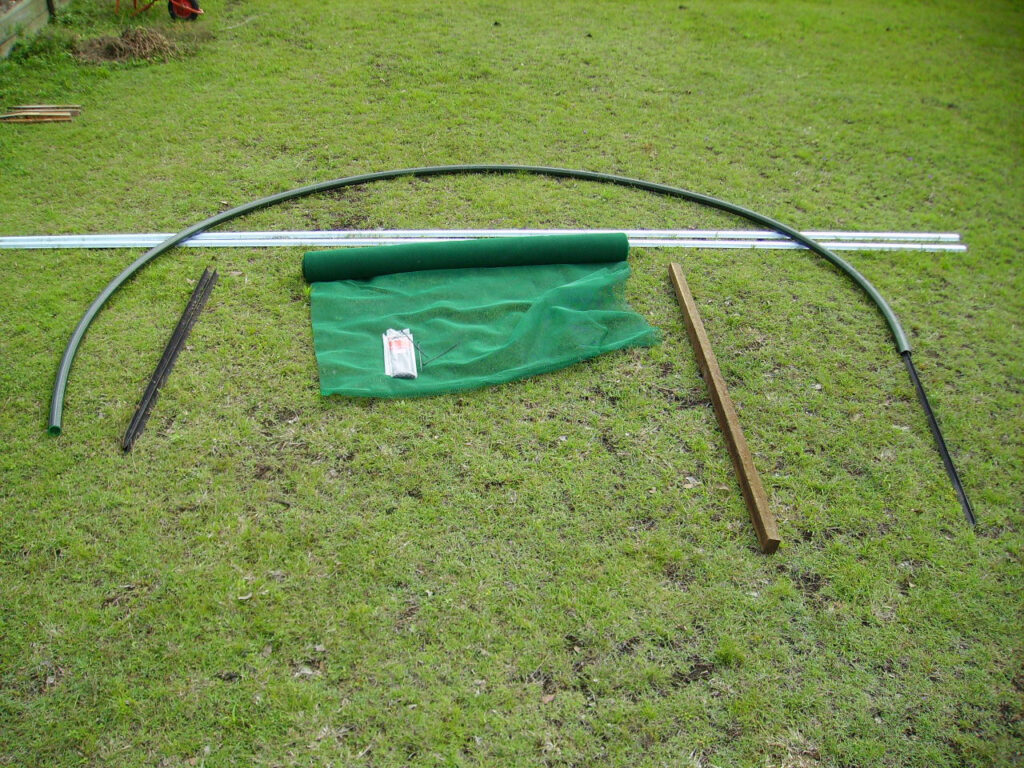
| 1.2m Star Pickets | 8 | |
| 50mm Poly Pipe. 7.2m sections. | 4 | Bunnings (50m) |
| Timber upright 30mm x 50mm x 2.2m | 2 | |
| Timber upright 30mm x 50mm x 2.15m | 1 | |
| Ceiling Battens Siniat 6.1m | 9 | Bunnings |
| Shade Cloth Folded to be double layered thickness (1.83m) | 10 | Bunnings |
| UV-Stabilised 4.6mm x 300mm. Packet of 100 | 2 | Bunnings |
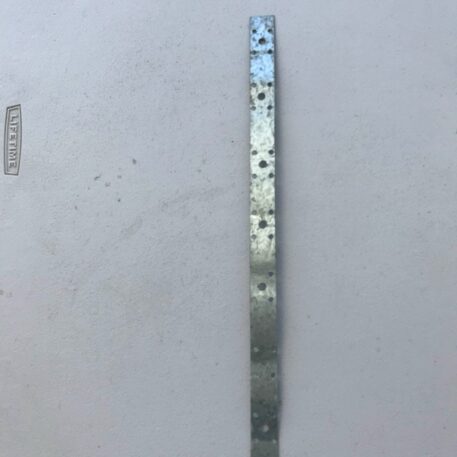
| Tie Down Plate 800mm. Hole punched sheet metal strips | 3 | |
| Fly-screen Door 810 to 840mm wide | 1 | Bunnings |
| Hinges with fasteners for door | Already included with door sold by Bunnings above. | |
| Door handle with fasteners | Already included with door sold by Bunnings above. | |
| Button head screws 15mm. Packet of 100 | 1 | Bunnings |
| The following is highly recommended for weed prevention | ||
| Builders plastic Folded to double layer thickness. 4m x 6m | 1 | |
| Weed mat or Old/Scrap carpet | Can often be obtained for free from large carpet stores | |
Tools
- Tape measure
- Level
- Hacksaw (to cut poly pipe)
- Star picket driver
- Screwdriver
- Heavy-duty scissors (to cut shade cloth for front and back)
- Heavy-duty stapler
- Battery disc grinder (for rocky soils)
- Spare lengths of 50mm poly pipe can be cut and sliced lengthwise to be used as temporary clamps for the mesh.
Construction Sequence
1. Measuring and Marking
- Level the area and remove sharp objects.
- Set out an exact square: 6m long, 4m wide (no wider, or the poly pipe will sag in the middle).
- Mark 2m and 4m spots for star pickets along the long side.
- Mark the centre of each poly pipe.
- On either side of each pipe, mark at 850mm, 920mm, 970mm, and 1,000mm for bottom batten placement. This leaves a few centimetres to place cable ties around the bottom batten.
- Mark the centre of each batten, then three spots on either side, 2m apart.
2. Constructing the Frame
- Drive star pickets 300mm deep (if obstructed by rocks, cut them to 900mm above ground for uniform height).
- Place poly pipes over the star pickets and push them to soil level.
- Place a 2.2m timber upright under the centre batten of both front and back poly pipes, ensuring vertical alignment.
- Secure the poly pipe to each upright using a tie down plate, bending it over the pipe and screwing it evenly on both sides of the timber. Insert one screw into the poly pipe.
- Secure a third timber length under the batten where the door will be placed, using a tie down plate.
- Attach the centre batten with two screws at the marked locations.
- Secure remaining battens in place with two screws each at the marked locations.
3. Attaching the Shade Cloth
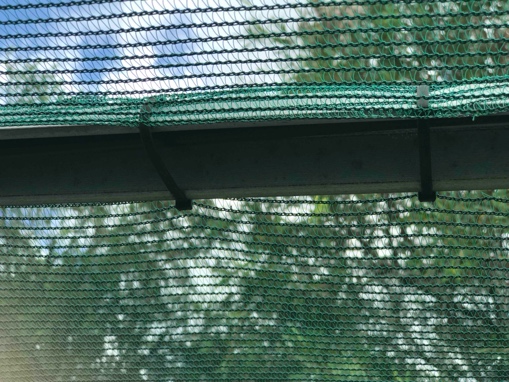
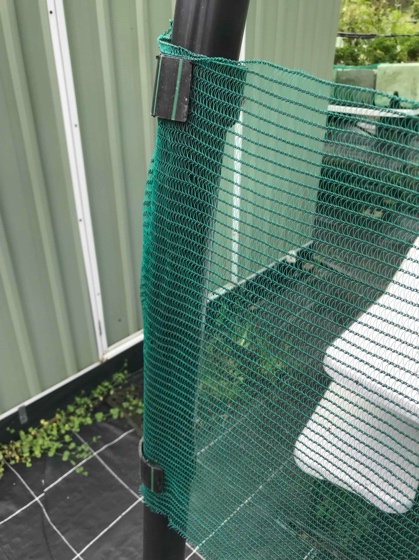
Using clamps made from segments of pipe can be useful for temporarily holding the shade cloth while installing. These can be made by making cuts of the 50mm poly pipe which are then sliced lengthwise, allowing them to be used to grip the mesh.
Sides
- Cut two 6.15m lengths of shade cloth for folding around the pipe. Unfold and spread one along the length.
- Temporarily hold sections with poly pipe clamps. Staple from the top batten down with staples placed 10mm apart.
- Use cable ties to secure both shade cloths to the top batten (200mm apart)
- Trim the cable tie’s tails for a neat appearance.
- Tie the bottom edges to the bottom battens.
Back
- Cut one 4.1m length, unfold, and spread along the back.
- Clamp near the bottom to hold in place.
- Pull the cloth over the top and clamp to the top batten.
- Use three clamps on either side to distribute the shade cloth evenly.
- Once satisfied that the shade cloth is evenly spread, staple the cloth to the poly pipe and trim the excess.
Front
- Cut one 2.25m shade cloth length and unfold it.
- Cut a length wise 2.15m-wide strip for the wider side (the side without the door) and a 1.25m-wide strip from the narrow side (which includes the door).
- Staple the 2.25m strip at the bottom, middle, and top to the timber on the wide side. Use clamps to hold the cloth in place before stapling. Trim excess cloth.
- Repeat for the narrow strip on the opposite side of the door.
4. Installing the Door
- To keep the door area weed-free, install weed matting or pavers.
- Install the door so that it swings outward.
- Measure and cut shade cloth to staple above the door.
5. Weed Protection
To prevent weeds from becoming a nuisance, cover the floor area with builders’ plastic to stop the roots from germinating weed seeds taking hold. Then cover the plastic with weed mat or old/scrap carpet to protect it from sun and damage by being walked on.
Final Touches
Happy growing! You may want to consider building some wicking beds to go in your new shade house. We recommend using wire mesh and weed mat style wicking beds. Refer back to the countless ways to make wicking beds for ideas.
Celebrate with a beer.

