The starter combines local soil biology in a growing medium with foods to multiply the biology. This results in a high-fungal starter to be then massively multiplied in a large volume of water to grow BioBooster. Farmers and graziers will do this to cover large areas.
A 1,000-litre BioBooster needs a 40-litre starter and is enough to treat 5 to 10 Ha. Quantities for smaller brews may be reduced accordingly.
Mixing
To prepare 40 litres of starter, uniformly mix:
- 30L worm-casts – Sourced from your own or a local worm farm or garden supply shops. Dry compost (not potting mix) may be used as a substitute.
- 10L Mill Run – This is bran and pollard and is most commonly used as chicken feed but can also be used as biology food. It is available at produce stores.
- 500ml molasses syrup – Dilute in warm water for even spreading. It is available at produce stores.
- 3L local soil collected as shown in the Introduction to BioBooster
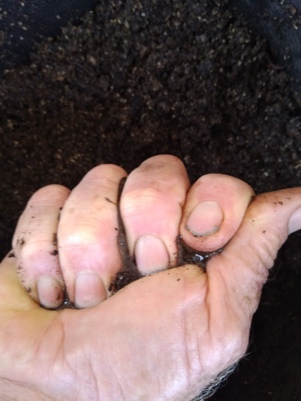
Once mixed, add water till just able to squeeze a drop of water, no wetter.
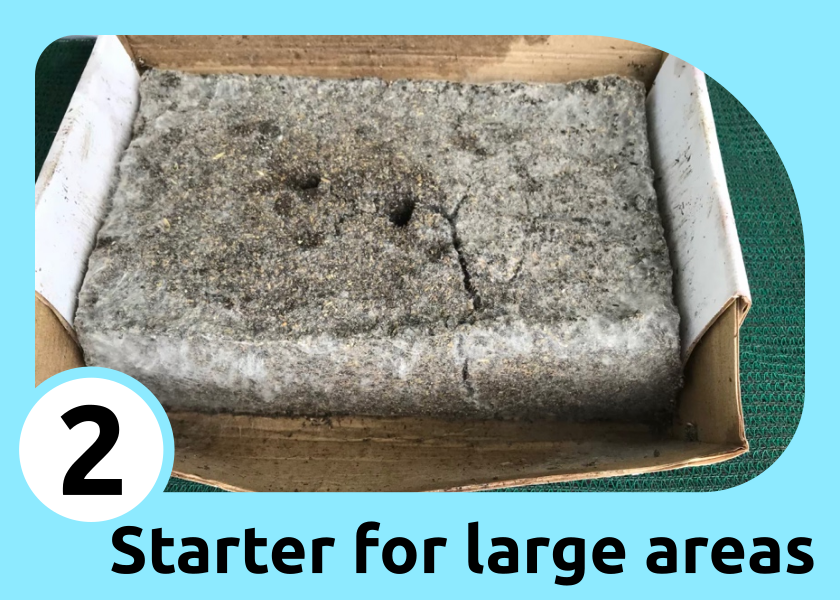
Growth Phase 1–3 Days
Place the mix 8 – 10 cm deep in a cardboard box, in a shady place, on the ground so that excess water can drain away. Compress it gently, like compressing soil around seedlings. Excess compaction will exclude air and stop desirable biology growing.
Cover it with a wet cloth to maintain humidity and temperature. Re-wet the cloth in a bucket of water, wring it out and put back over the starter twice a day.
A slight warming will occur after 12 – 24 hours, which indicates strong biological activity. It is important to check by hand for warming and make sure it is going well.
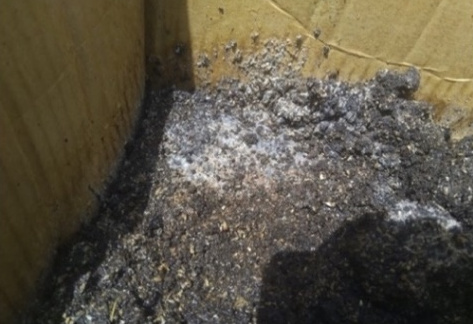
Check if it is ready to apply. This may be after 24 hours in summer or 48 hours in winter. As the fungi grow, they will link together the loose soil particles and form these into large clumps.
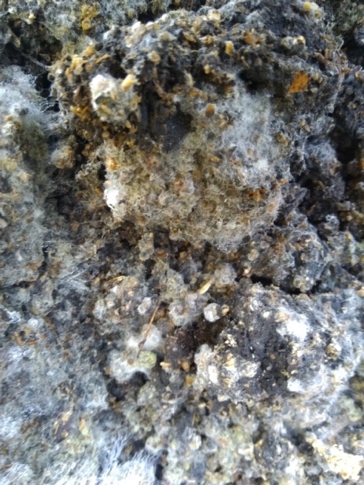
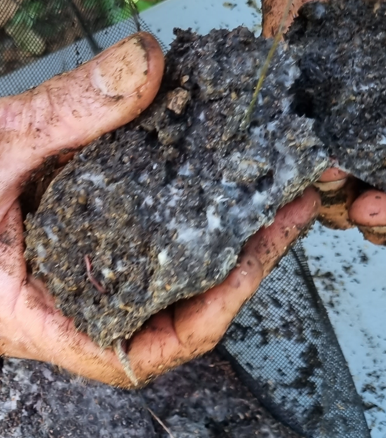
When fungi cover the surface, check the spread of fungi throughout the starter by breaking a large clump in half. If you see white or gray threads throughout the clump of starter, the starter is ready. If not, put it back and give it another day. These threads are known as Hyphae and are a key part of the BioBooster.
Key Points
- Keep the collected soil moist and cool before use.
- Check by hand that there is warming about 12 – 24 hours after wetting the starter.
- Keep the covering cloth damp twice a day.
- Prevent the mix from getting too wet by protecting it from rain, sprinklers and hand-held hoses.
- When the fungi cover the Starter, check that it has also spread through the starter.
- If not, wait another 24 hours and allow growing further.
We strongly suggest completing two or three small starters as shown in Starter for Small Areas to gain a feel for the process and test local ingredients and conditions before undertaking a 40 litre starter for 1,000L.
Next Steps
When ready, use the starter as inoculum to grow the BioBooster as shown in our article on making BioBooster for large areas.