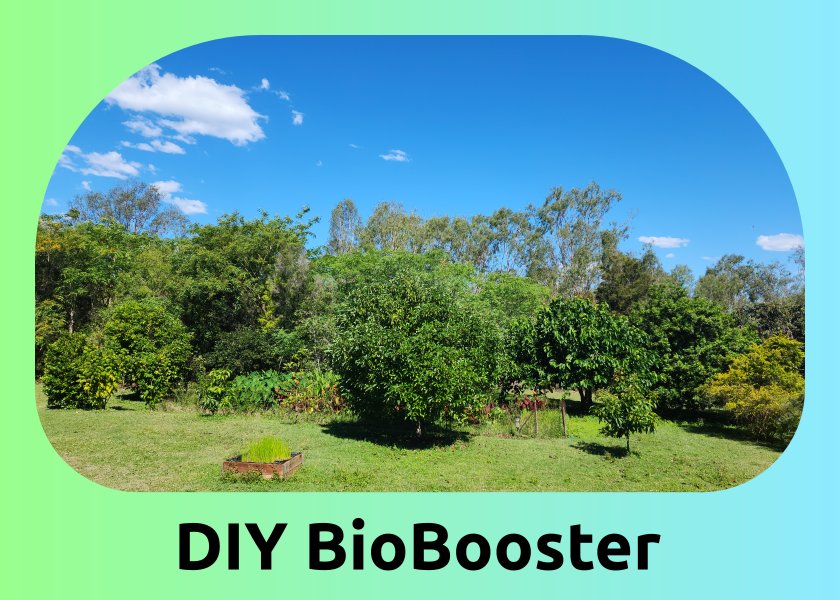
BioBooster is a very high concentration of living soil microbes in water. It is used to start revitalising soil biology, where that has been severally reduced by monoculture and the widespread use of industrial chemicals in agriculture. BioBooster is based on healthy local soil and can be grown at home or on the property. It takes around 5 to 7 days to be ready to be applied. Growing and applying it is a practical, low-cost way to start bringing soil biology back to good health.
We applied the BioBooster along with some nutrients to farming, grazing, and garden soils. We measured increased yield, seen improvements in soil structure within 100 days, and shown that it can be profitable from the initial application. Our results are documented in case studies. Growing and applying the BioBooster requires mainly existing home and farm equipment and needs very little extra money.
Growing your own BioBooster is a start to the healthy soil biology needed to produce healthy plants. To keep it healthy may need a change in mind set – becoming aware of the role of soil biology and being willing to look after it and avoid the practices that kill it.
Five-Step Process
Growing your own BioBooster is a five-step process that takes five to seven days, depending on the season. This process is the same for both small scale (gardens and small areas) and large scale (farms, orchards and pasture).
While the process is the same when done in small quantities as or bulk, the equipment, amounts of inputs and application methods do vary between small and large scale. We have included guides for both. We strongly suggest getting a feel for the process by doing it for small areas first, before trying to do it at large scale – your veggie patch will love it!
- Step 1 – Identify and collect healthy and diverse local soil biology.
- Step 2 – Growing a starter – This is the initial awakening and multiplication of soil biology. It takes 1 to 3 days. You can learn how in our article on building a starter for small areas, or our article on building a starter for large areas.
- Step 3 – Growing the soil biology – Aerobic multiplication in water that takes 1–3 days. This results in the BioBooster, which is highly concentrated, diverse, living soil biology that can be applied easily. We detail how you can build your aerobic tank setup in both our articles on growing BioBooster for small areas and growing BioBooster for large areas.
- Step 4 – Applying it to the soil. BioBooster is alive and concentrated and needs oxygen and must be applied within a maximum of four hours after stopping the aeration. Again, this process requires different equipment depending on whether you are applying to small areas or applying to large areas.
- Step 5 – Permanently adjust your management by looking after your soil biology instead of killing it and so spreading and further fostering it.
Using local, healthy and diverse soil biology avoids any danger of introducing something new. The second step produces enough diverse and living soil-biology to be used as an inoculum for a massive increase in the next step. The third step grows the BioBooster which can be applied with existing equipment and immediately starts to strengthen the symbiosis with plants.
Many alternate successful methods use compost as a source of soil biology, but making compost on the farm takes months and needs regular care. Commercial composts in Australia are often hot composted due to regulations or lack of temperature control during preparation. Temperatures near and above 65°C destroy soil biology. Such compost is useful as fertiliser and as a feedstock for growing soil BioBooster, but not necessarily as a source of living diverse soil biology.
There are many commercial products with a single or a very small number of soil biology species. However, an essential characteristic of a healthy soil biology is that it consists of a wide diversity of species.
This method provides a diverse local soil biology within a week at little expense that shows soil improvements from early on, as shown in our case-studies – all based on easy-to-collect local soil biology.
Getting Started
The first step in making BioBooster is to gather local healthy diverse soil biology, you can follow our guide to find out where best to gather from.


